
Adjusting Visual Levels for Video
Capturing the perfect video is not always an easy task. Like your eyeball, a video camera's lens relies heavily on light to be able to collect visual data. Most cameras have settings that let you adjust how much (or how little) light is allowed into the camera lens based on the conditions around you while filming. The thing is though; no matter how hard you try it's not always possible to achieve perfect results. Sometimes you need to go back during post-production and adjust visual levels.
Change brightness, contrast, saturation and color balance
-
Select a video, photo or text block on the timeline. Then click the Adjust Bright, Contrast, Saturation icon on the toolbar or press Ctrl+P. This opens the Brightness, Contrast, Saturation window.
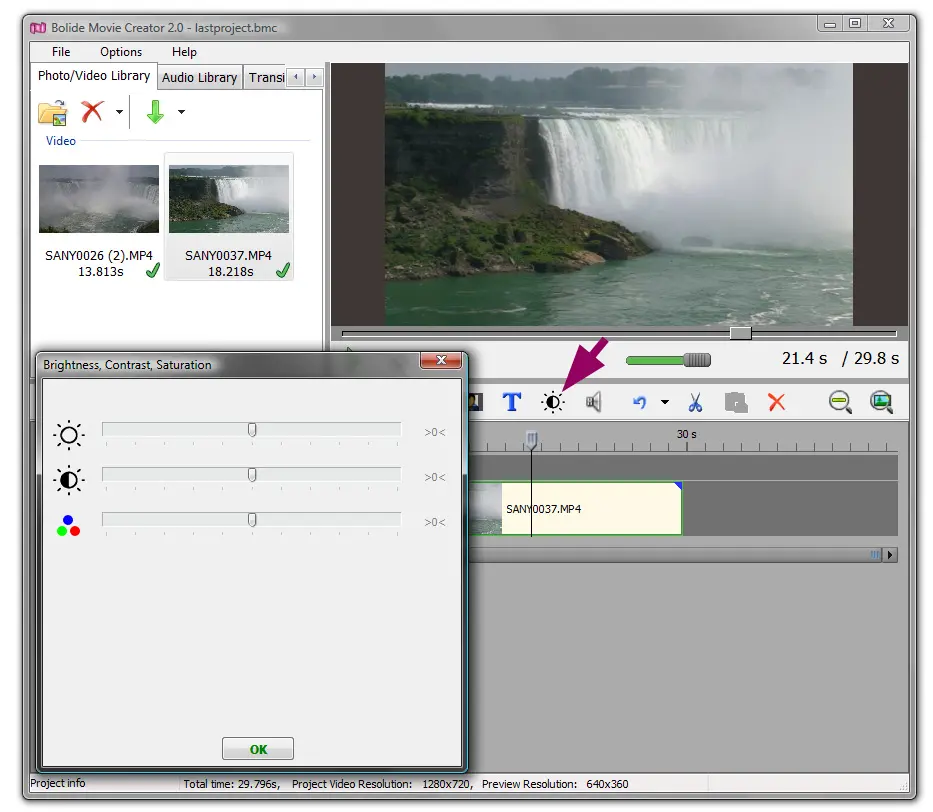
-
Here you can use the sliders to control and adapt visual levels according to your needs. Each slider starts at zero in the middle. The result is shown in the preview while you move the slider.
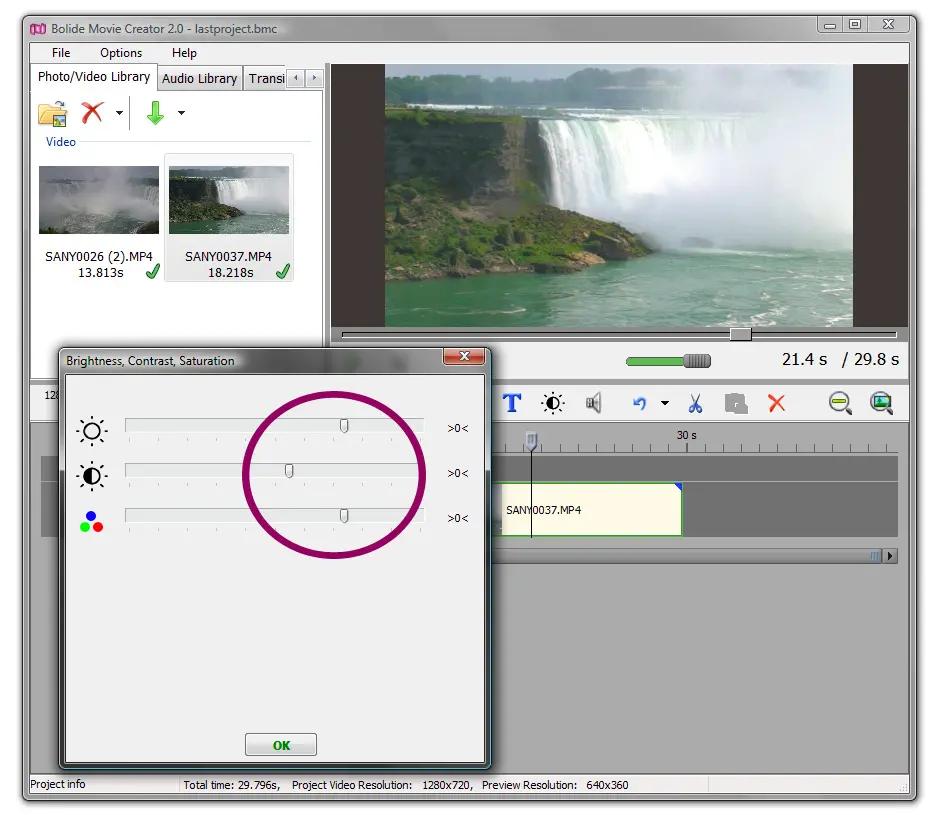
- With Brightness, sliding the cursor to the right increases the amount of light in the video. Pushing it to the left reduces the amount of light available.
- For Contrast, sliding the cursor to the right increases the amount of stark difference between black&white making the black darker and the white lighter. Sliding this to the left reduces the amount of difference; creating a more subtle visual.
- Finally, Saturation lets you control the amount of color present in your video. Sliding the cursor to the right increases color hues, while sliding to the left reduces them. All the way to the far left will produce a black & white visual.
- The Color balance (red - blue) and Color balance (green - purple) sliders shift the colors of the picture toward one of the two colors. Use them to fix an unnatural tint (for example, too yellow indoor lighting) or to give your video a whole new look.
- The Reset button next to a slider returns that slider to zero.
- Once you've finished adjusting the sliders, click the OK button to accept the changes. Cancel (or Esc) closes the window and discards them.
- If several blocks are selected on the timeline, the window opens for the block closest to the timeline cursor, and after you click OK the same settings are applied to all selected blocks. For color filters, blur and artistic looks, use the Effects tab, see Video Effects.
Back to Video Editing Guide.