
Text Settings Explained
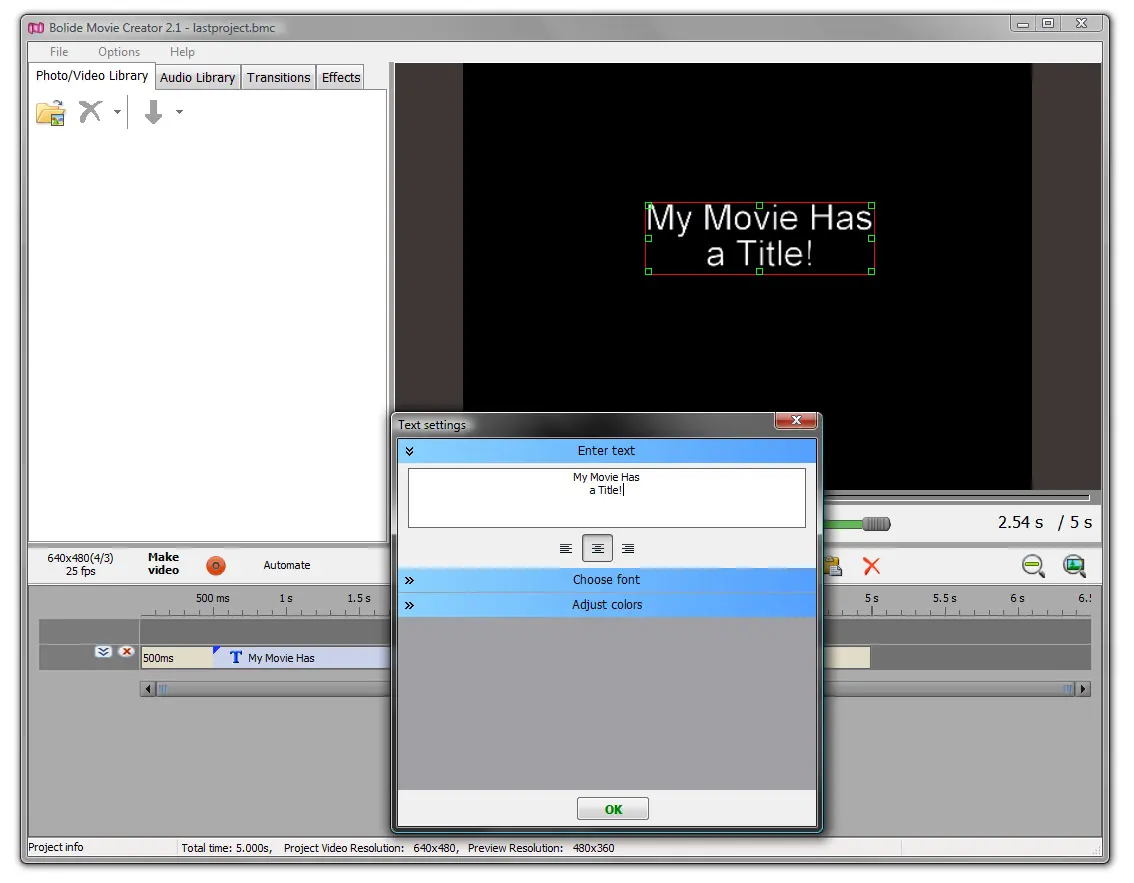
Now that you've tried adding a text element to your movie timeline, let's take a closer look at the Text settings window. It opens automatically when you add a Simple text block (scrolling credits and a ticker have their own window, see Scrolling Credits and Ticker). To open it for an existing block, double-click the block on the timeline, or right-click it and choose Edit text properties. Every change is shown in the preview right away, so try different combinations until you like the result. Practice makes perfect!
Text and font
- Type the text your audience should see into the large text box. Press Enter to start a new line. Right-click the box for Undo, Cut, Copy, Paste, Delete and Select All.
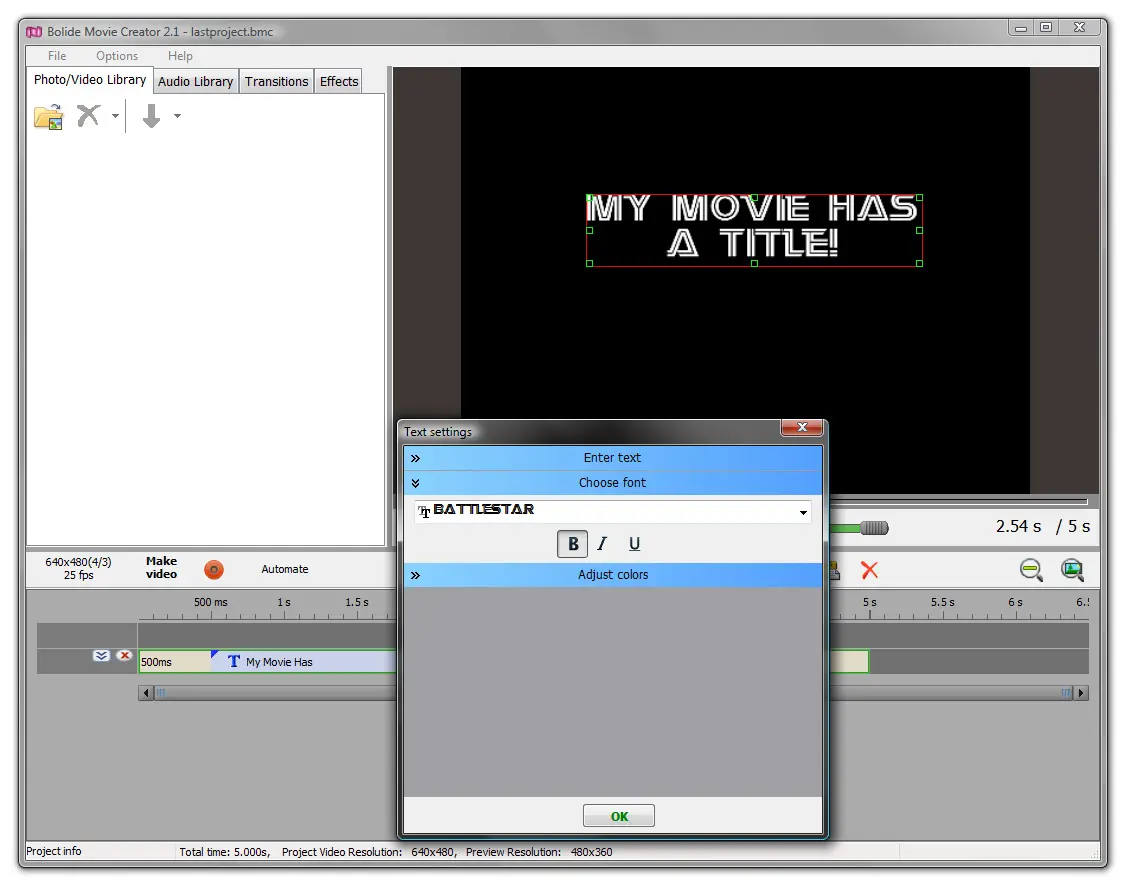
- The row above the text box lets you choose the font (any font installed in Windows) and the font size (from 6 to 100). The Bold and Italic buttons change the style of the text.
- The Align Left, Center and Align Right buttons align the text inside its frame. Alignment is applied to the whole text block.
- You can set your own font, size, style and color for each word or even each letter. Select the part of the text you need (just like in any text editor, for example Word) and change its settings. If nothing is selected, the new settings apply to the text you type next. To change the whole text at once, select all of it first (Ctrl+A).
-
Tip: select some text before opening the font list, and fonts that can't display the selected characters are shown in gray. This helps when you type in a language other than English or use special symbols.
- The Add Emoji button opens the Windows emoji panel (the same one you get with Win+.). Click an emoji to insert it at the text cursor.
- The +Counter button inserts a dynamic tag that shows changing values in the video: Stopwatch, Timer or Frame counter. Read more on the timer and frame counter page.
Text color and outline
-
The Predefined color tab shows a palette of ready-made text colors. Click a sample to apply it to the selected text.
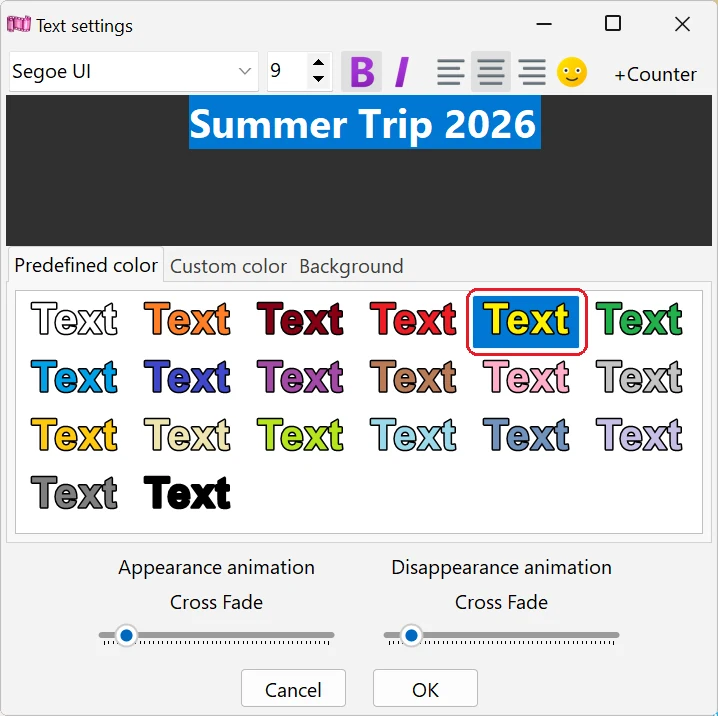
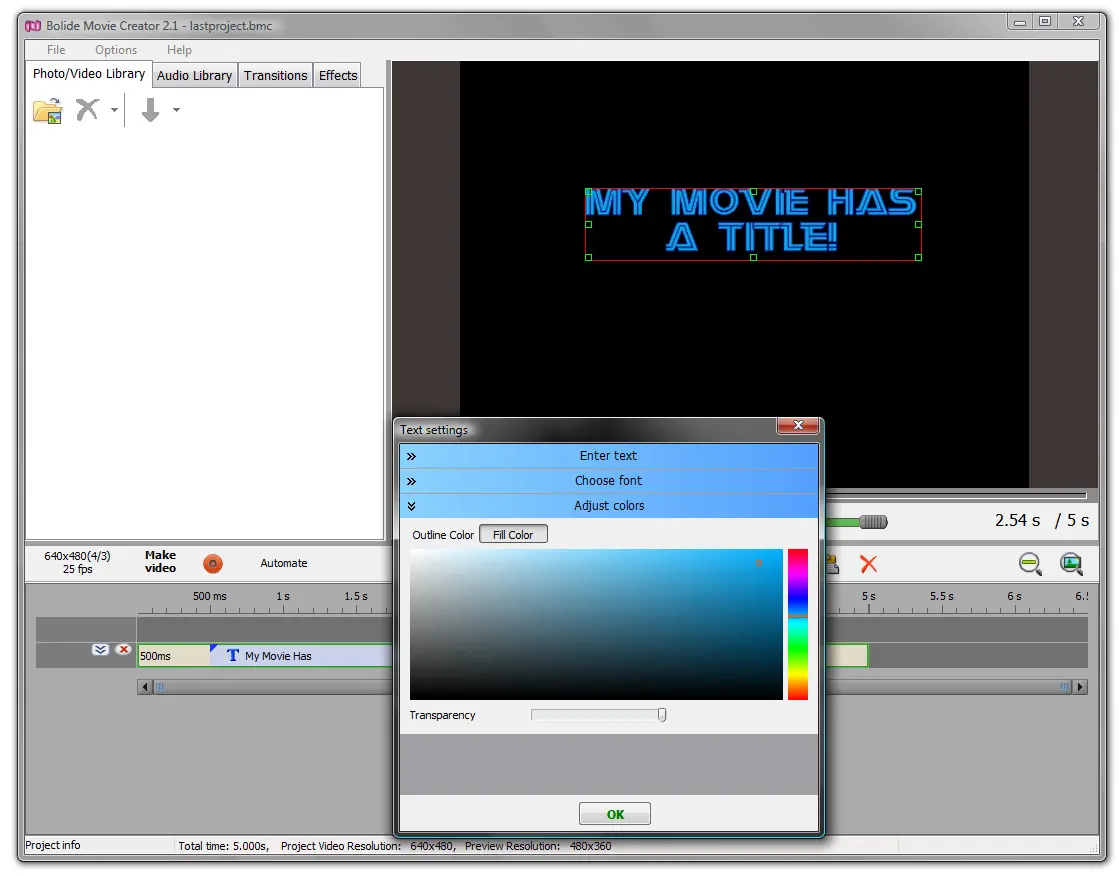
- On the Custom color tab you can pick any Text color and set Text transparency with the slider: move it to the left to make the text more transparent.
-
An outline helps text stand out on a busy background. Turn on the Outline color checkbox and pick the outline color (choosing a color turns the checkbox on automatically). The Outline transparency slider controls how visible the outline is. Like the text color, the outline can be turned on or off for any selected part of the text.
Background
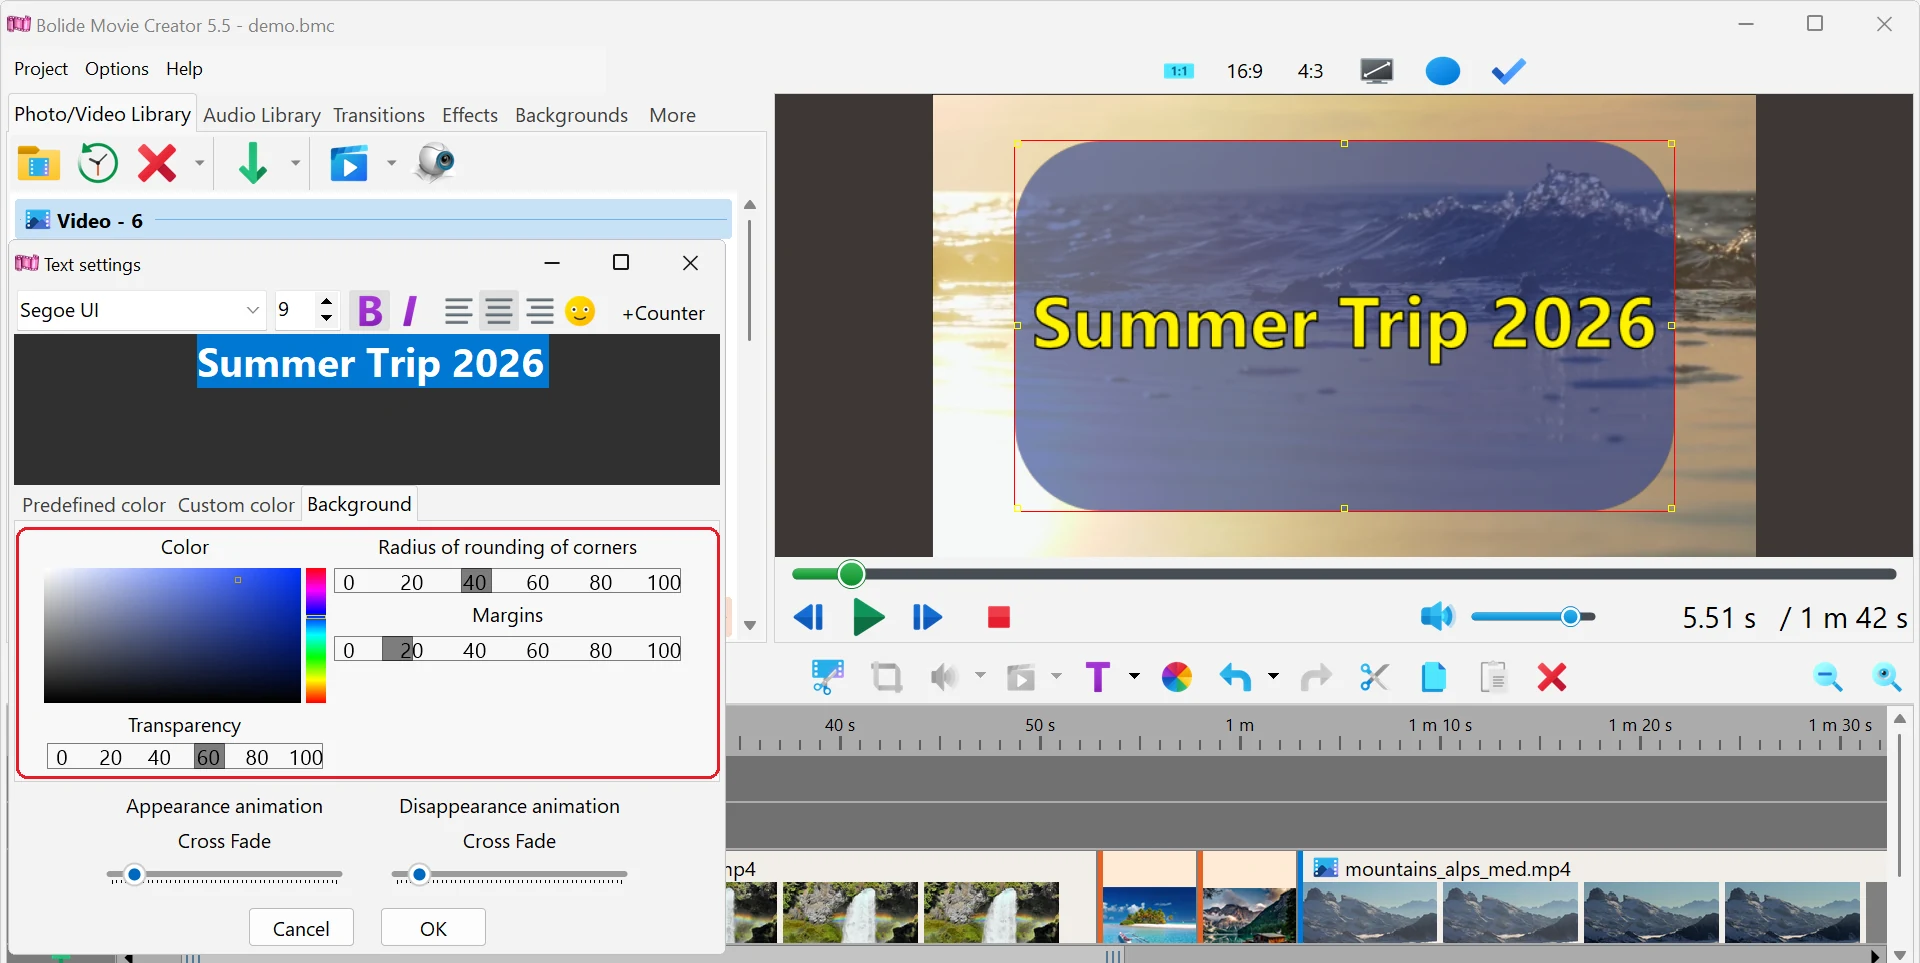
- On the Background tab you can put a colored plate behind the text. By default the background is fully transparent. Pick a Color and move the Transparency slider to the right to make the background visible.
-
Radius of rounding of corners makes the corners of the background round, and Margins sets the space between the text and the edges of the background.
Appearance and disappearance animation
-
At the bottom of the window you choose how the text appears and disappears. Click the button under Appearance animation or Disappearance animation (it shows the name of the current animation) and pick an effect from the menu. Effects are grouped by category.
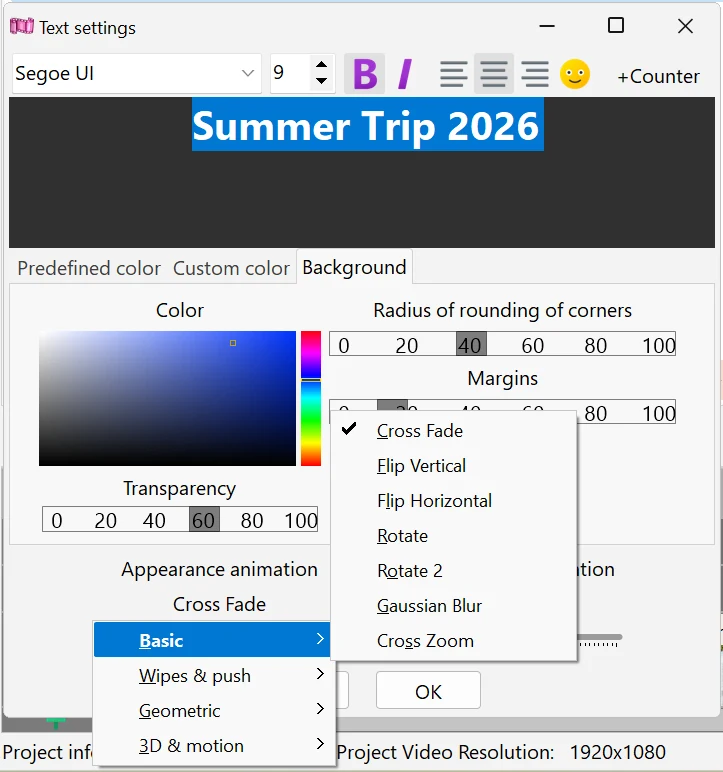
- The slider next to each button sets the duration of the animation as a percentage of the text block length (0–100). The further right, the longer and smoother the animation. Both animations together can't take more than the whole block, so moving one slider may shorten the other.
- The duration is also shown on the timeline as red dashed rectangles at the edges of the text block; you can drag them with the mouse as well (see Add Text Comments to Video).
Saving your changes
- Click OK to keep the changes. Cancel, Esc or closing the window restores the text as it was before you opened the window; for a block that was just added, the block itself is removed.
- The program remembers your last font, outline, background and animation settings and uses them for the next text block you add.
Back to Video Editing Guide.