
Add Photo/Video to Project Library
Before you can start making movies, you'll need to add some video clips and photos to your project. This guide shows how to add files to the Photo/Video Library, put them on the timeline and lay a picture over a video. To learn about adding music or sound files, check out Add Audio to Audio Library.
-
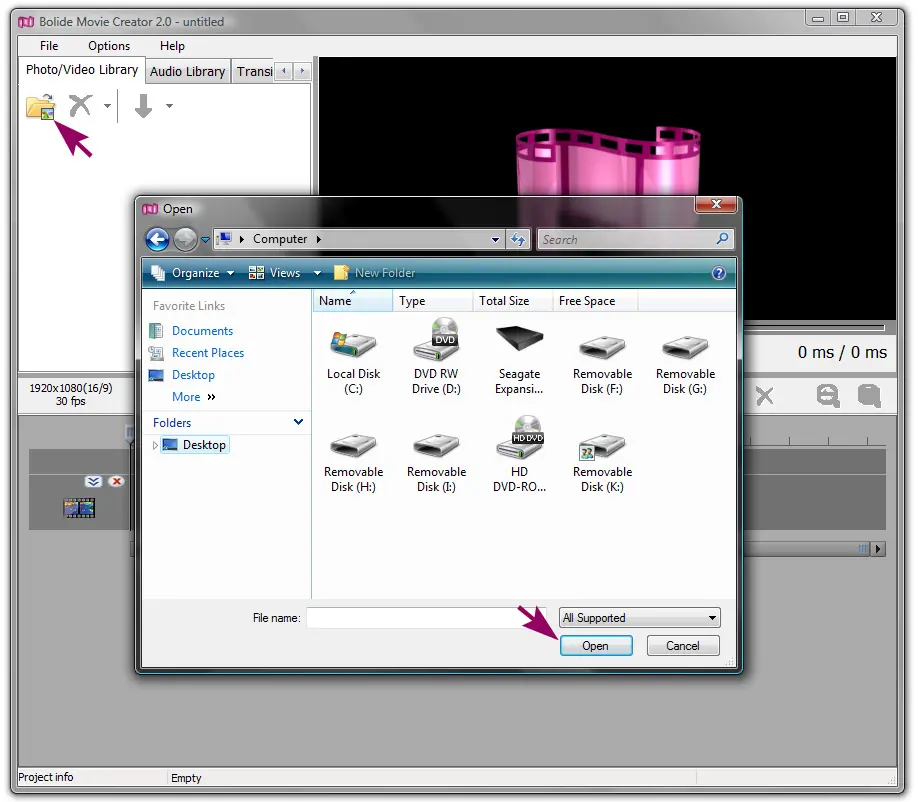
Add a photo or video to your project by clicking the folder icon (Add photo/video to library) in the top-left corner of the Photo/Video Library tab. You can also simply drag files from Windows Explorer into the thumbnail area of the library. Common photo and video formats are supported, as well as WebP, HEIC/HEIF, and AVIF. If a file doesn't show up in the open dialog, choose All Files (*.*) in the file type list or drag the file in. Vertical media with an orientation tag opens correctly without manual rotation.
- The library belongs to the current project. Files are shown in two groups, Video and Photo, with the number of files next to each group name. Fragments you mark in videos appear in a third group, Virtual clips (see Lossless Cut and Join with Virtual Clips). Hover over the small info icon in the bottom-right corner of a thumbnail to see the file details: dimensions, format, codec, frame rate, bitrate and file size. A check mark on a thumbnail means the file is already used in the project. Right-click a file for more: Show media info opens the full file information (see Saving a Frame as a Picture and Viewing File Info), Reverse video makes a reversed copy of a clip (see Reversing a Video), and Create virtual clips... lets you mark fragments of a video and save or join them without re-encoding (see Lossless Cut and Join with Virtual Clips).
- If a file is damaged or its format isn't supported, the program doesn't add it and shows you a list of the files it couldn't read.
- Need files from your previous projects? Click the Open recent button (clock icon) on the Photo/Video Library toolbar, and they will be added to the library again. To tidy up the library, use the Remove selected item from list button; its drop-down arrow also has Remove all. Removing a file from the library doesn't delete it from your disk.
-
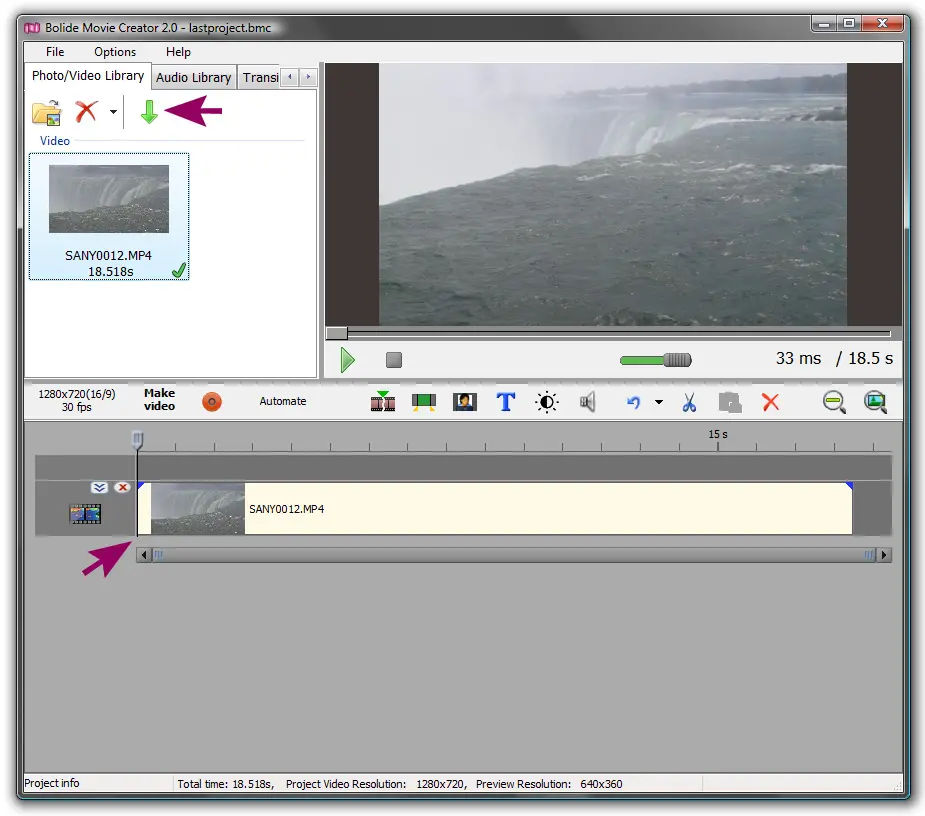
To add a photo or video to the timeline, click its thumbnail in the library to select it, then click the green arrow (Add selected video/photo to project) on the Photo/Video Library toolbar. The file is added to the end of the project. You can also drag a thumbnail from the library onto the timeline and drop it exactly where you need it.
-
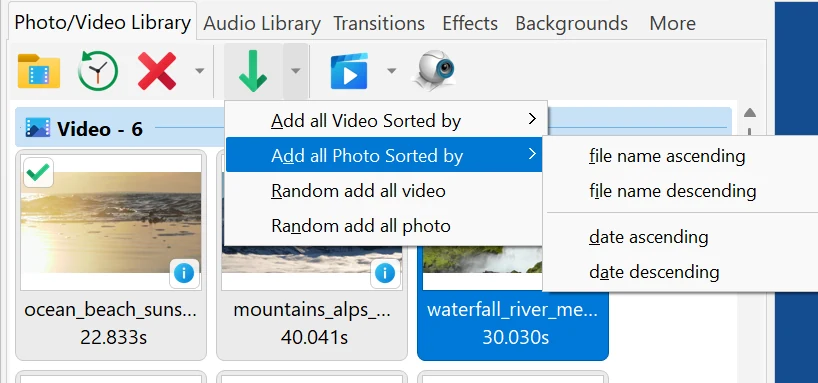
To add many files at once, click the small arrow next to the green arrow button. Add all Video Sorted by and Add all Photo Sorted by place all clips or all photos from the library at the end of the project, sorted by file name or date, in ascending or descending order. Random add all video and Random add all photo do the same in random order — handy for a quick slideshow.
- You can also drag photos and videos from Windows Explorer straight onto the timeline: they are added to the library and placed in the project at the drop point. If you drag a project file (.bmc) into the program window, the project opens.
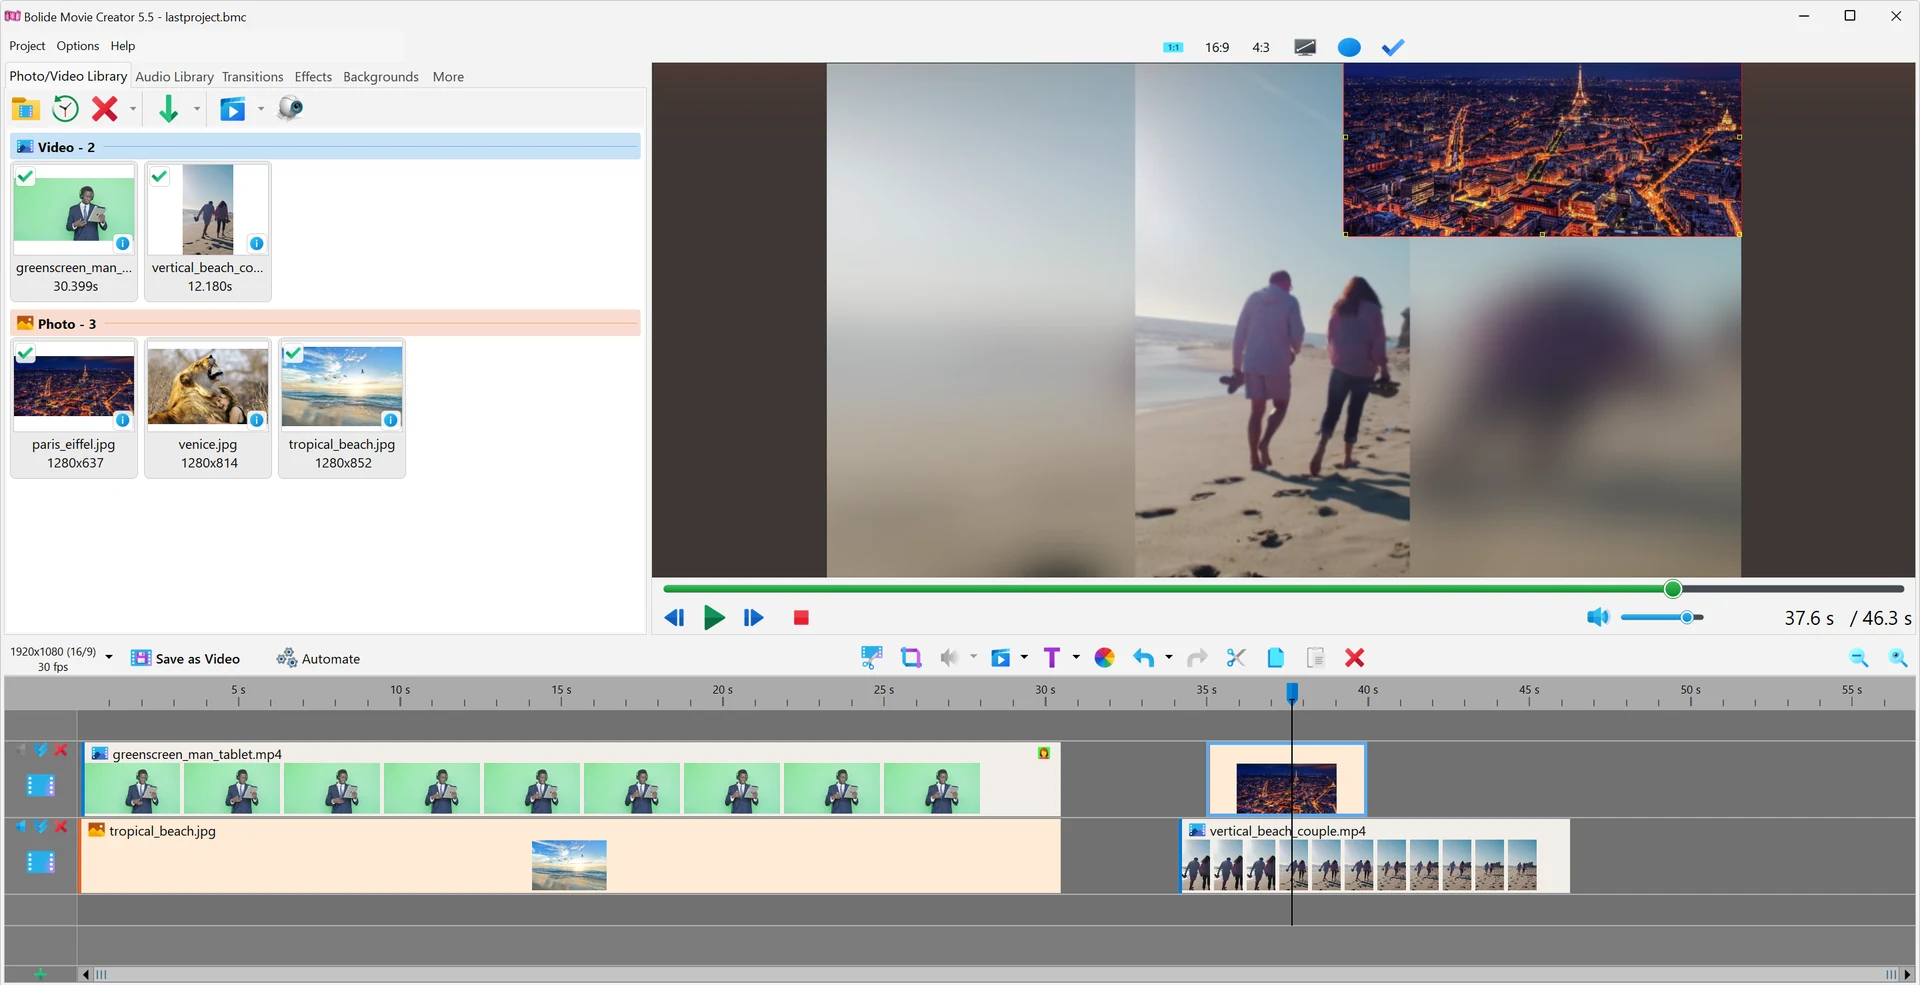
- To lay a picture over a video, place it on a separate track above the video clip. Think of tracks as layers stacked from the bottom up: the upper track covers the lower one.
-
By default the overlaid picture fills the whole frame. Select it on the timeline and drag the selection frame in the preview window to make it smaller and move it, for example, to a corner of the frame — the main video stays visible in the rest of the frame. You can also make the upper layer see-through, see Video Transparency.
- We recommend saving the project file via Project > Save project as... so you can return to editing later from Project > Reopen Project (see Saving and Opening Projects). To export the finished movie, use the Save as Video button or Project > Save as video file... (see Convert Video to another Format).
Back to Video Editing Guide.